
Hey everyone!
I realize you could probably go to any blog, or any website and find out how to make cake pops. But, I thought that you may wanna hear it from a not-so-pro (or at least yet!). I received a cake pop kit from my sister for christmas and I immediately was excited to get started on them. My first thought was I had to get a cake pop maker, but I found out you don't need one! (does everyone know that, or was it just me?)

Ingredients
1/2 baked and cooled 13X9-inch cake*
1/2 cup plus 2 tablespoons frosting
1-2 package (14 to 16 ounces) candy coating (It depends on how many colors you choose to use for coating, if you use a solid color you should be fine with one package)
24 lollipop sticks
Foam block (a floral foam block works fine)
Decoration Examples**
Decorator frosting, mini chocolate chips, gumdrops, color taffy/gummy strips, sprinkles/decors, licorice strips, sparkling sugar, sugar pearls, small colored candies, the list goes on!
*Per book instructions, Prepare a cake from a mix according to package directions or use your favorite recipe. Cake must be cooled completely.
**Choose which decorations you'd like to use
If you want a really cool idea, google images is a great tool for this!
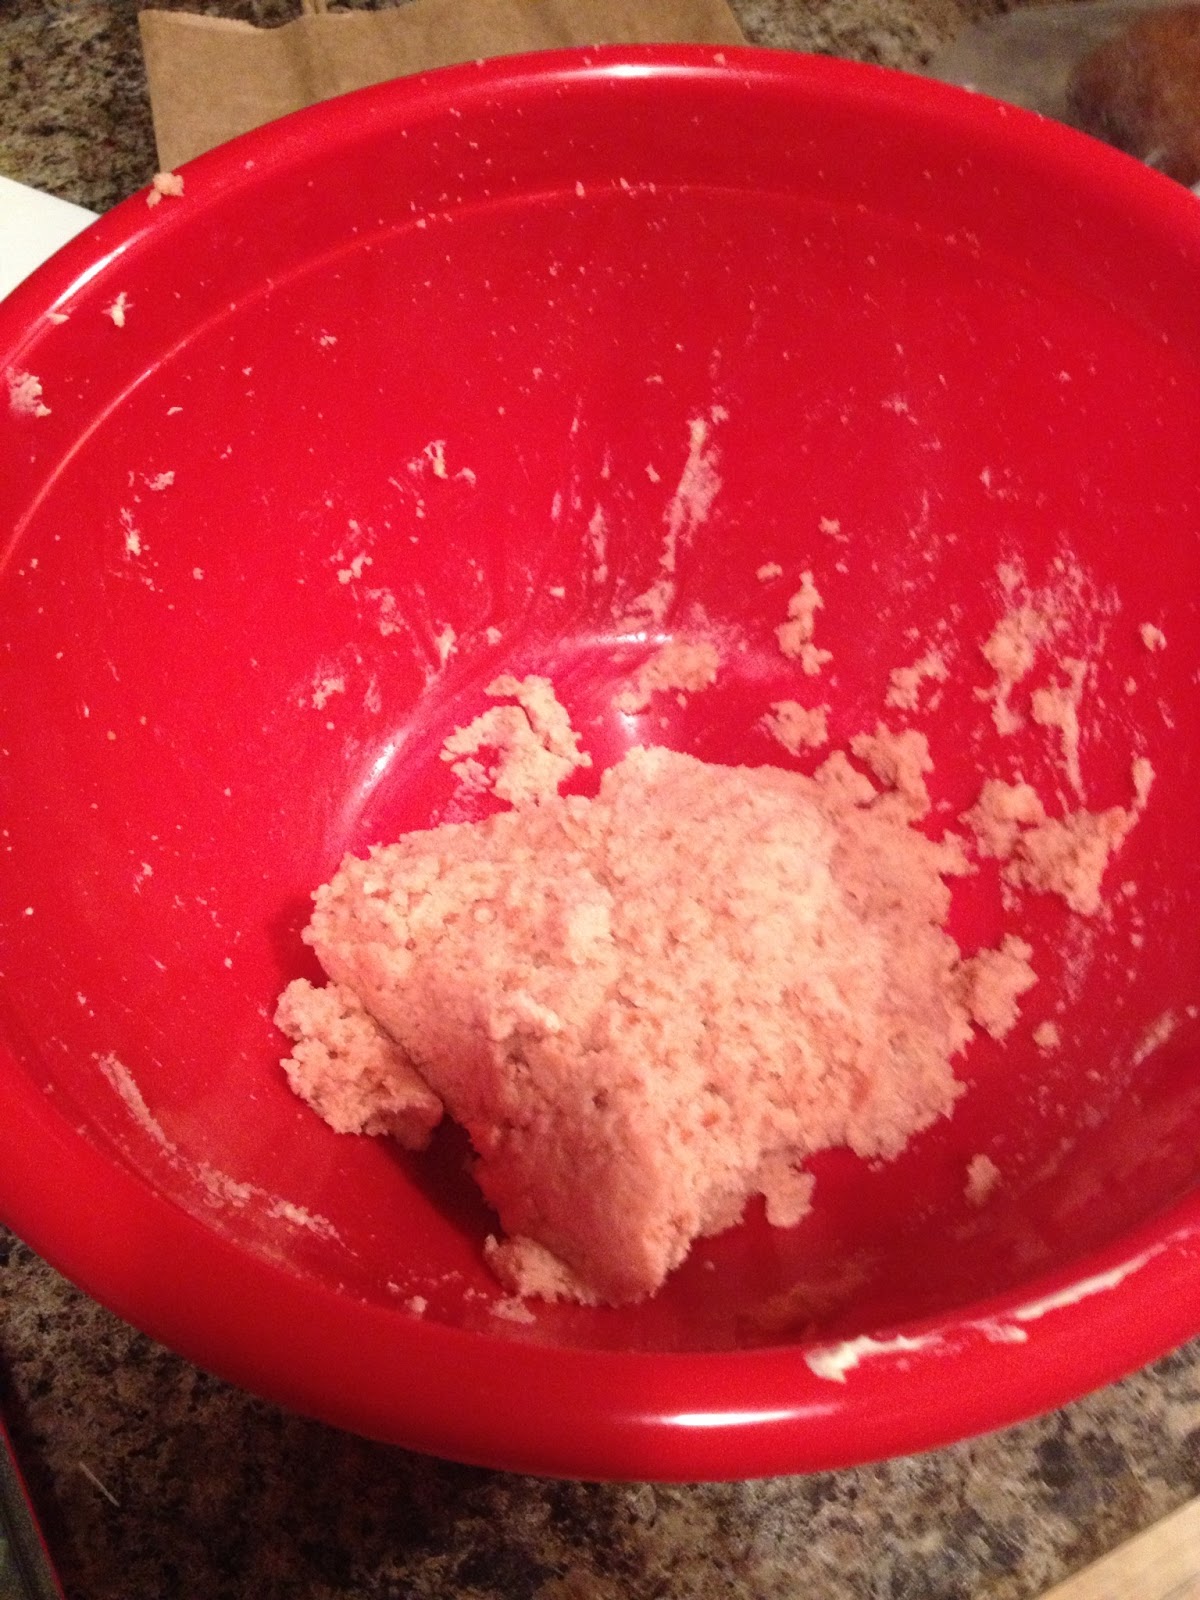
Once your baked cake is completely cool, this will take hours 2-3 hours at least. Cut the cake in half, and place the half into a bowl. Use your hands to crumble and create small tiny crumbs so all cake is crumbed up. It should look like this:


I then added the frosting (1/2 cup PLUS 2 tablespoons)
Mix using your hands. It gets a little messy but it is a lot easier than if you were to use a spoon or something else. The mixture then looked like this:
 |
| I didn't think i'd have enough for 24 pops but I was wrong! |
I had to make dinner, so I decided I'd place them in the fridge and get back to them after dinner. It was over an hour, and the pops still didn't seem firm enough. I placed them into the freezer for a few minutes while I got the chocolate melting. Lesson learned: Make sure you follow the melting instructions (I over melted part of mine, and got frustrated). I found it easiest to melt the chocolate in a coffee cup because it was deeper and easier to dip the pops into them.
 |
| This is not a clean project--I had a messy chocolate coated counter! |

Then, came the most difficult part. Dipping these little suckers into the melted chocolate. To me, there is no easy way to put this or describe how to dip these things easier. It involves lots of twirling, because you need to try to attempt to keep the chocolate smooth throughout.
P.S. This may have something to do with the chocolate I used. I used Log House Candiquik white chocolate. I have used this brand and kind for strawberries and it's worked perfectly. I don't know if I would use this type again or not.
Once you dip the cake pop, and twirl the necessary coating off the pop, leave it upright (this is where your foam block/stand comes into play) Wipe the excess coating off where necessary.
While they are still a little damp, start decorating! If you are using licorice or other bigger decorators you can let them dry completely before placing the items on pops. You can use some candy coating to use as glue on the back of the item and adhere it to the pop.

 |
| Cake Bites! |
I only made a dozen cake pops and the rest I created these bite size bits! It was getting late and making the actual cake pops are very time consuming, and I was getting impatient. After they all hardened, I stored both the pops and the bites into tupperware containers and stored them in the fridge.
Hope you enjoy!
Has anyone ever made these before? What are your experiences?!
No comments:
Post a Comment